Hi folks,
Sometimes you get data not from a database, but as a file like CSV and you need to visualize it in Power BI, but not giving access to the data for everyone. And worse, the people are not mentioned in the file itself. Today I will show you how you can control access to a specific file using SharePoint and Row Level Security (RLS) in Power BI. This trick only works if your users User Principal Name (UPN) is the same as the email. Let’s start.
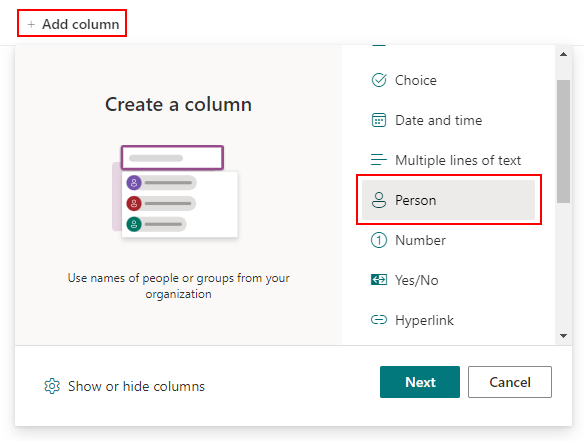
Create SharePoint Columns
First, we need a SharePoint column within the SharePoint library you store your files in. This column will have the selected people who have access to this file.
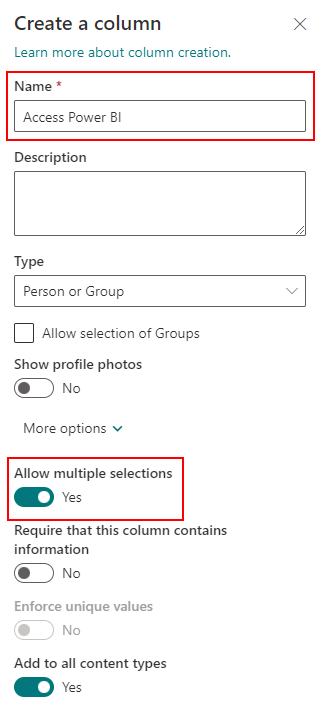
Give it a name and enable “multiple selections” if you want to add multiple people.
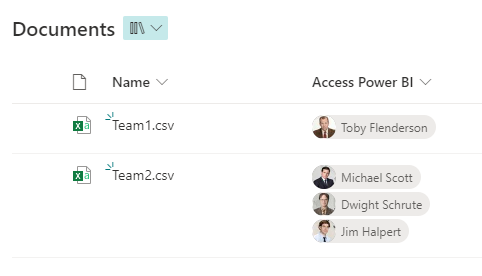
For easier developing in Power BI, add some content:
Now let’s switch to Power BI
Power BI Query Editor
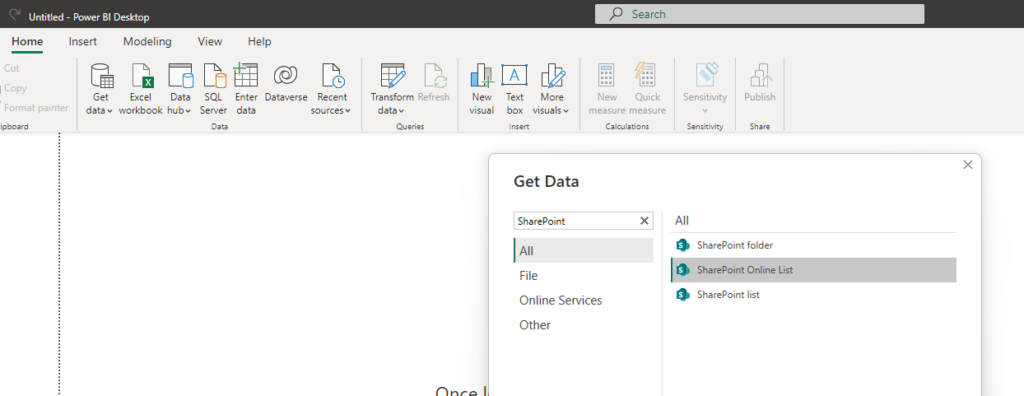
Create a new Power BI file in Power BI Desktop, click on “Get data” – “More” – “SharePoint Online List”:
Add the Site URL from your SharePoint Site Collection.

Add the Site URL from your SharePoint Site Collection.
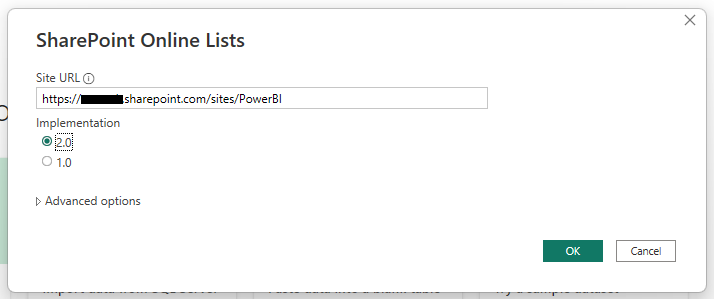
Sign in using your Microsoft Account.

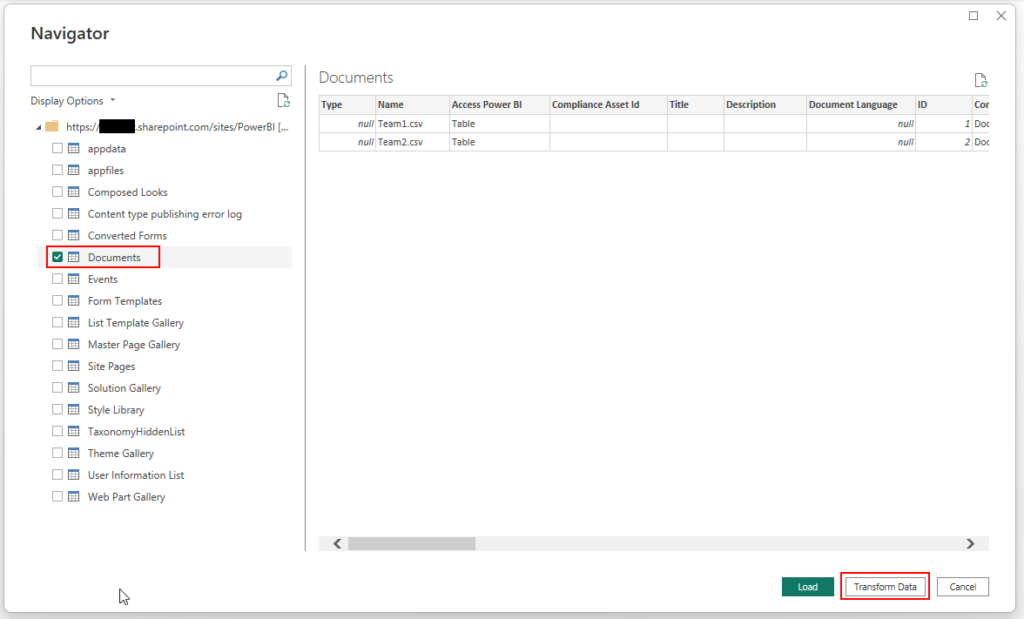
Select the library, your files and SharePoint column are in and click on “Transform data”:
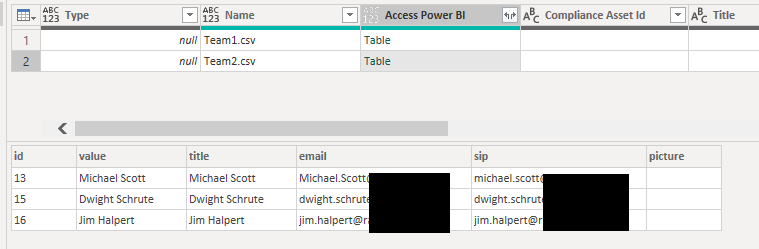
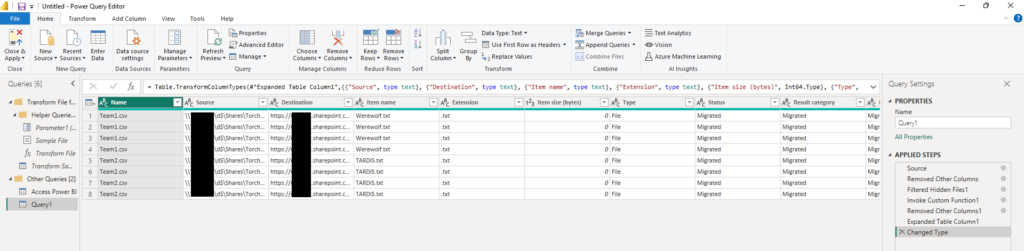
This will open the Power Query Editor. Within the editor, you can already see the columns, the “Access Power BI” column is a table with the users information.
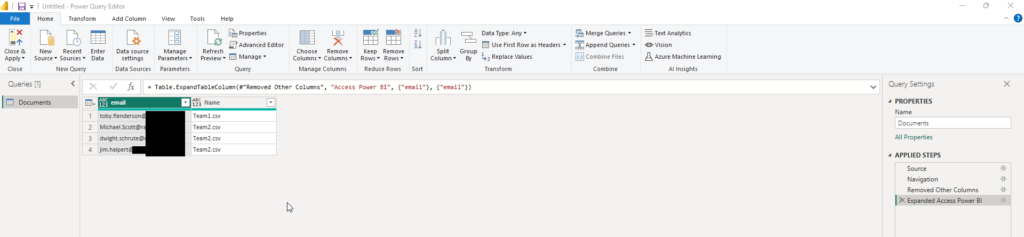
Before you expand the table, you can remove all the other columns as we only need the “Name” and “Access Power BI” columns. Next click on expand and we only need the email address of the user:
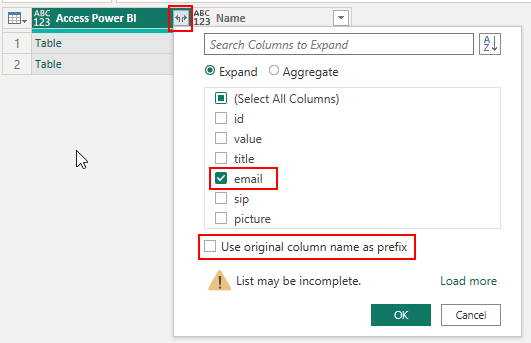
You should see a list with the email addresses of all users and the name of the file they are associated with:
(You can also rename the Query in Power Query Editor if you like, I didn’t take a screenshot of that)
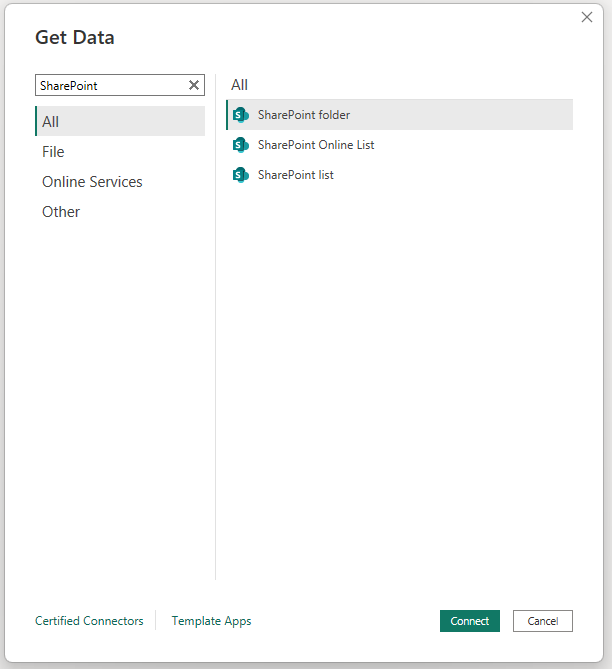
Now we need to get the data from the files. Within the Power Query Editor click on “New source” and select the “SharePoint folder”:
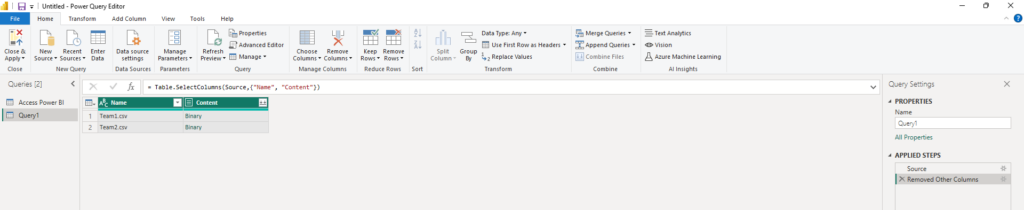
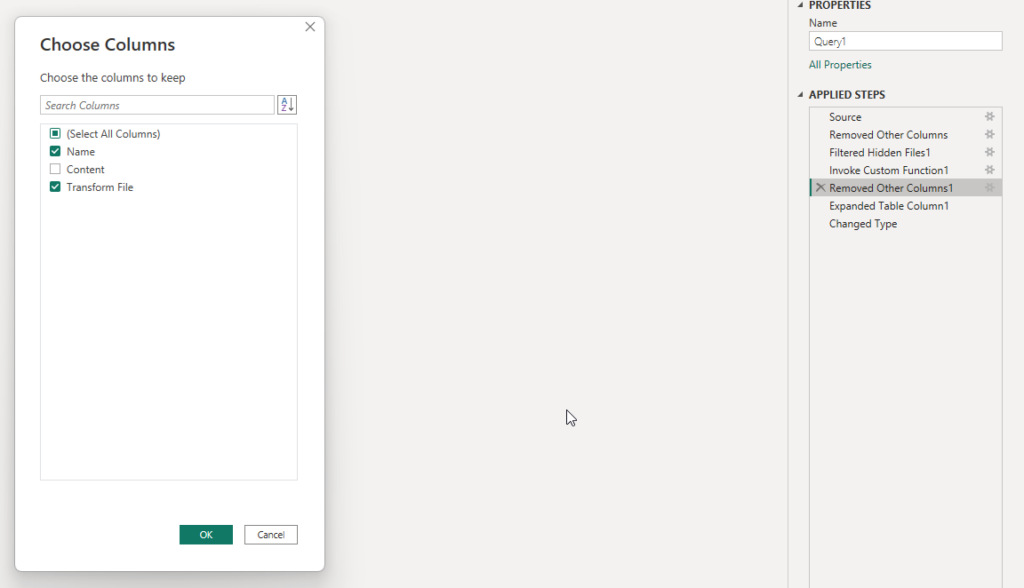
Again, load the content from the library into the Power Query Editor, I also removed all the other columns to only have the “Name” and “Content” columns left:
Now we need to expand the content field to get the content from the files, Power BI will do all the work for us to expand it:
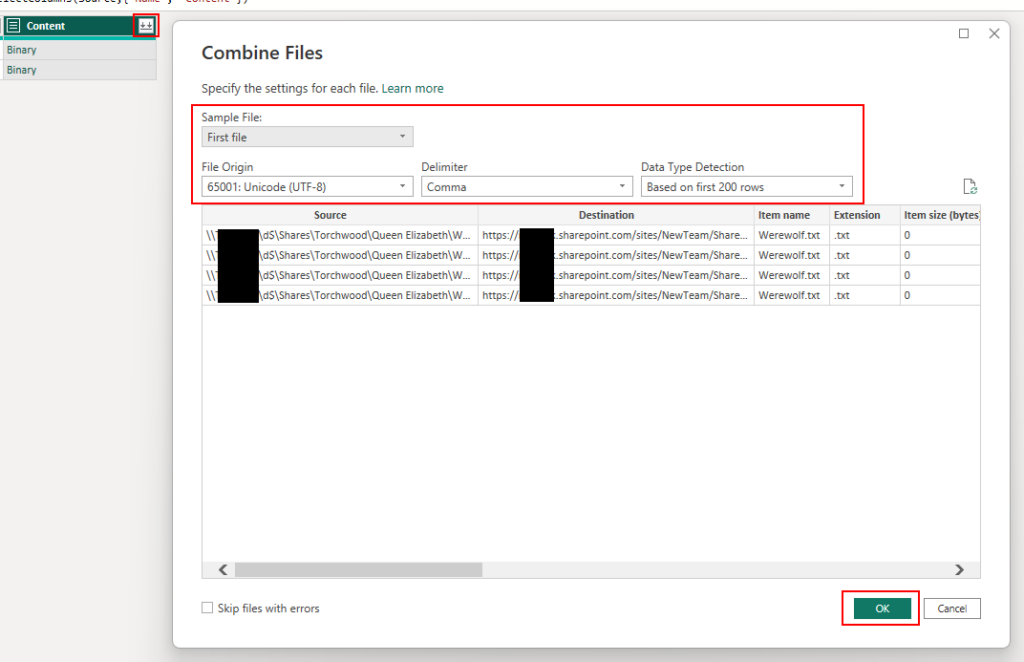
Make sure to select the correct settings for your file (CSV in this case).
After clicking on “OK” you will see Power BI automatically created some helper queries to transform your file content. One column is missing, as you check the applied steps on the right side, you see that there are all other columns removed. We need to modify this to keep our name column:
This is it within the Power Query Editor. You can save and close it.
Power BI Desktop
First, we need to create a relationship between the two tables we created on the Name column which includes the name of the files:

As we selected in SharePoint to allow multiple selections of users and for each row within from the document contents, we create a many-to-many relationship, if you would only allow one user to be selected within SharePoint, you could also have a one-to-many relationship.
To check if your relationship works, add one column from each table into the report (otherwise you would receive an error message):

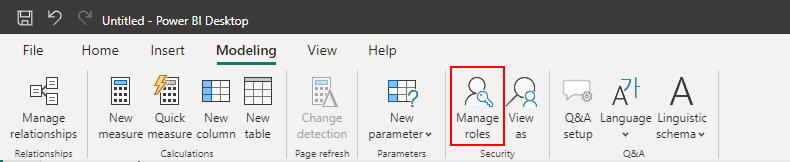
Next, we need to configure the row level security (RLS) role:
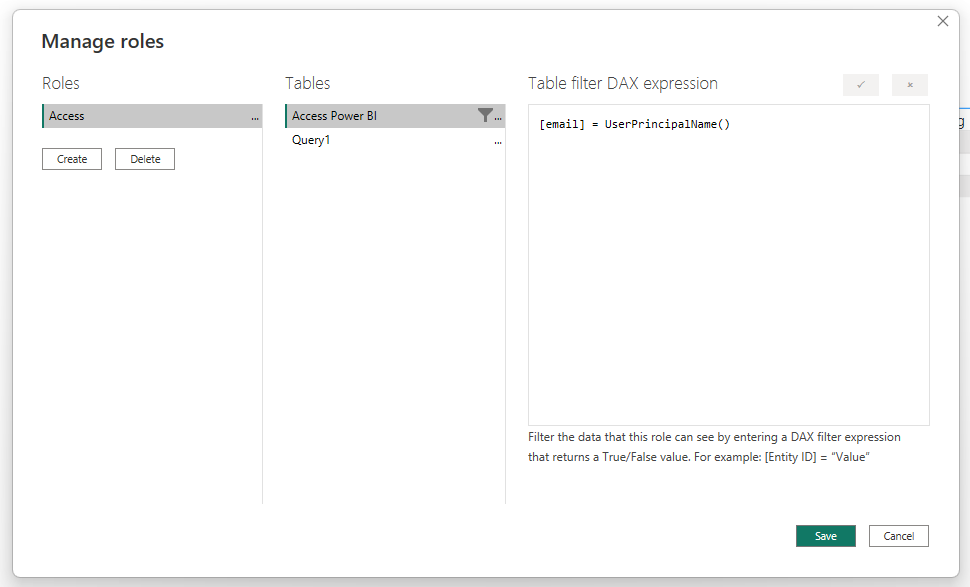
On the table “Access Power BI” we are filtering the email column where it is equal to the User Principal Name of the current user.
[email] = UserPrincipalName()Publish the report to Power BI Service.
Power BI Service
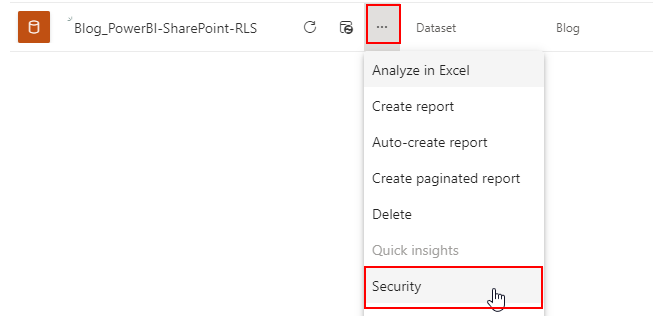
Within Power BI Service we also need to do some configuration. First, we need to associate the users with the RLS we created. Click on the Dataset and select “Security”:
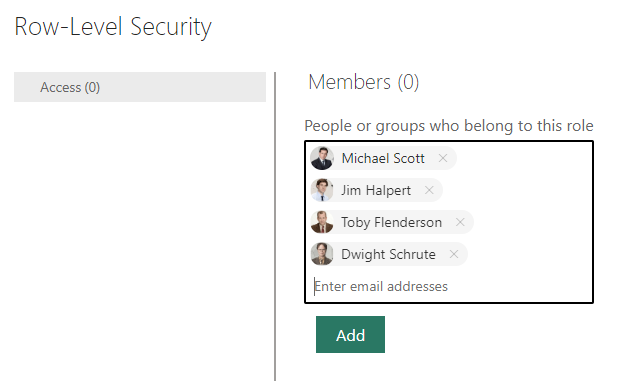
Note:
If you have a bigger group of people giving access, you can add a (dynamic) Azure AD Security Group instead of the individual users. This is scaling much more for the future.
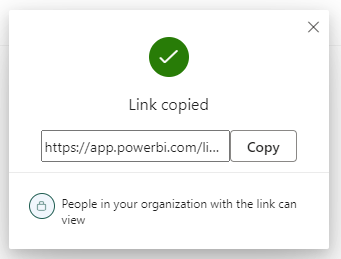
Afterwards you can share the report with people in your organization to give them access:
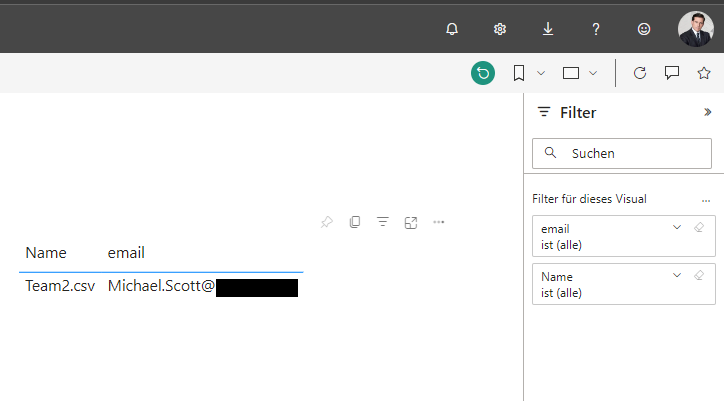
Result
When a user enters your report, the user will only see the content he is allowed to see based on the SharePoint columns he is added to.
Thanks for reading, I hope you liked it and it will help you!
Marvin
Schreibe einen Kommentar