Hey folks,
recently I came across a question in the Power Automate community forum, where retrofuture came up with the question to generate a SharePoint Page filled with a word document content uploaded/created in SharePoint Online. The basic idea came from a Youtube video by Lernen Tech / Krishan Sharma, who used a SharePoint list. In this article you will learn how to get the content from a Word document and publish it on a new SharePoint page. So in general we have two different things to achieve, first we need our Word document content as plain text (or better as HTML), the second is to create a new SharePoint page. The second thing is already pretty good explained in the video, we will just make a couple of changes, but first things first.
What do we need

- Default Document Library “Documents” (or any other library to upload our Word documents to)
- Document Library “Temp” (for storing temporarily data)
- Default SitePages Page Library “Site Pages” (where we will populate our new generated pages to)
- Power Automate Cloud Flow (Standard licensing)
Get Word document content
My first thought was using the “SharePoint – Get file content” action within Power Automate to get the content of the word document. Unfortunatly we will not get the content as plain text, but as an encoded string:
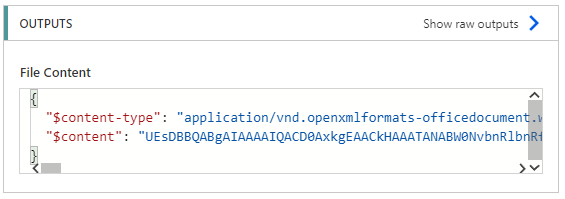
This is not what we can use to go on with getting our content. After searching for a while I came across a blog article by Paul Murana on how to “Extract text from Word docx files with Power Automate”, a fantastic article, you should definitly check out, if you need more information about how the following works in detail!
This is our flow to get the Word document content and create a HTML out of it:
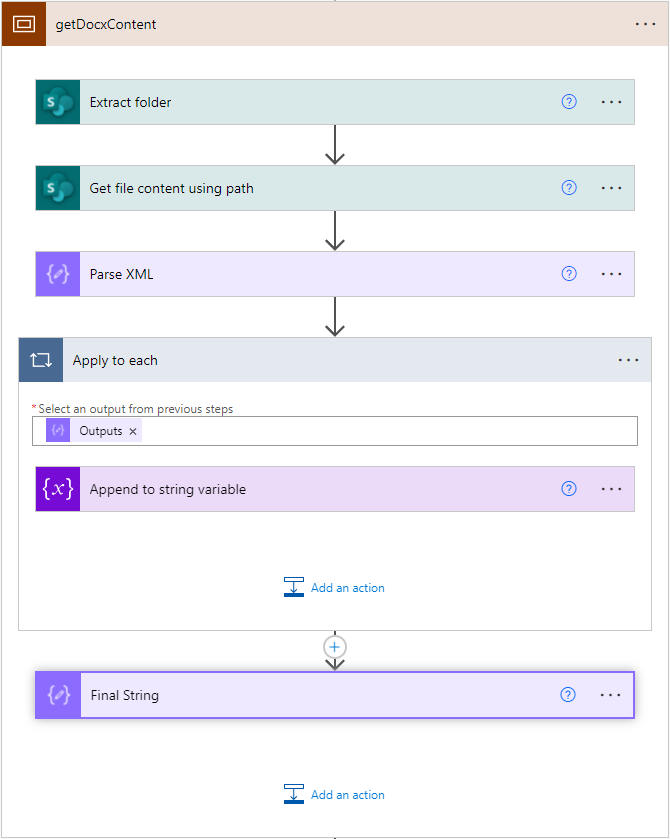
Extract folder:
Site Address: <Your SharePoint Site Collection>
Source File Path: @triggerOutputs()?['body/{FullPath}']
Destination Folder Path: /Temp/@{triggerOutputs()?['body/{Name}']}
Overwrite Flad: Yes
As Paul explains in his article, “a word docx file is actually a zip file that contains a number of folders and files”, we can actually extract this content. That’s why we need another library “Temp” as destination, to save the extracted content temporarily (you can delete it after extracting the content; In this article we will not delete it afterwards). The result of your extracted word document should look like this:

Get file content using path:
Site Address: <Your SharePoint Site Collection>
File Path: /Temp/@{triggerOutputs()?['body/{Name}']}/word/document.xml
Our content is located in the document.xml file located in the word folder. The only dynamic content here is the name of the folder everything is stored in, this is just the same name of our docx file we uploaded to SharePoint. After getting the file content, we can parse this content and only get out the actual content:
Compose (named Parse XML):
Inputs: xpath(xml(outputs('Get_file_content_using_path')?['body']), '//*[name()=''w:t'']/text()')
The xml() convert the input to a Xml type value, the XPath() has two inputs, the first is the XML on which to evaluate the XPath expression, the second is the XPath expression. XPath uses path expression to select nodes or node-sets from XML. In this case we are looking for the text inside our node “w:t”, which contains our text as plain text. Check out w3schools if you want to learn more about XPath.
Apply to each:
Output from previous steps: @{outputs('Parse_XML')}
The return of the XPath is like an array:
[
  "Lorem ipsum ",
  "dolor sit amet, consectetuer adipiscing elit. Maecenas porttitor congue massa. Fusce posuere, magna sed pulvinar ultricies, purus lectus malesuada libero, sit amet commodo magna eros quis urna.",
  "Nunc viverra imperdiet enim. Fusce est. Vivamus a tellus.",
  "Pellentesque habitant morbi tristique senectus et netus et malesuada fames ac turpis egestas. Proin pharetra nonummy pede. Mauris et orci.",
  "Aenean nec lorem. In porttitor. Donec laoreet nonummy augue.",
  "Suspendisse dui purus, scelerisque at, vulputate vitae, pretium mattis, nunc. Mauris eget neque at sem venenatis eleifend. Ut nonummy.",
  "Fusce aliquet pede non pede. Suspendisse dapibus lorem pellentesque magna. Integer nulla.",
  "Donec blandit feugiat ligula. Donec hendrerit, felis et imperdiet euismod, purus ipsum pretium metus, in lacinia nulla nisl eget sapien. Donec ut est in lectus consequat consequat.",
  "Etiam eget dui. Aliquam erat volutpat. Sed at lorem in nunc porta tristique.",
  "Proin nec augue. Quisque aliquam tempor magna. Pellentesque habitant morbi tristique senectus et netus et malesuada fames ac turpis egestas.",
  "Nunc ac magna. Maecenas odio dolor, vulputate vel, auctor ac, accumsan id, felis. Pellentesque cursus sagittis felis."
]
To get a basic HTML, we will loop through our array and add a paragraph tag on each line:
Append to string variable (you need to first create a string variable using “Initialize variable”):
Name: varString
Value: <p>@{items('Apply_to_each')}</p>
Final String:
The last action within the scope is just to show the final result, so it’s just optional if you want to see if it works.
Create SharePoint Page

Now we can start to create our SharePoint page. Most of this using SharePoint REST API, if you are not familiar with it, check out this docs.
Create a page template
First we need to create a new template page, so we turn to our SharePoint site and on your “Home” site or site contents, click on “New – Page”.

Pick the “Blank” from “Built-in” and select “Create page”. When the new site is created, give it a name like “Template”. Remove the author from under the page name and start adding some content like different layouts, webparts etc. Also because we want to add some content, add a text webpart and start writing some sentences. This will make it easier to find our content later again and we need some space where to add the content to.

This is our template, to save it click on the arrow next to “Save as draft” and select “Save as template”.

Add a name for the page template and click on “Save page template” on the right upper corner.
After this, go back on your “Home” site again, click on “New – Page” again.

A dialog should get up (To get this dialog, you need to go over the “Home” site, otherwise it will not be visible) where you can select either the build-in template or you should also see your own generated Template.
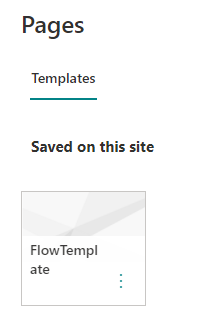
Select your created Template and click on “Create page”. Give your page a name like “test page”. Before clicking on “Publish”, we need to track the information. Open the “Developer Tools” of your Browser – by clicking F12, CTRL+SHIFT+I or “Settings – More Tools – Developer Tools” (in Edge Chromium) – switch to “Network” tab and set the filter to “savepage”:

When this is open and running, click on “Publish” on your SharePoint site. Within the network tab, you should see one entry “SavePage”, Status 200 etc. Select this and go on the “Headers” section:

In this section, scroll down to “Request Payload”, this is the information we will need later in our flow. Click on “View source” and copy this code into some text editor like Visual Studio Code. Afterwards you can close the Dev Tools again and go back to the flow.

Congratulation, this was probably the most difficult part!
Heading back to the flow
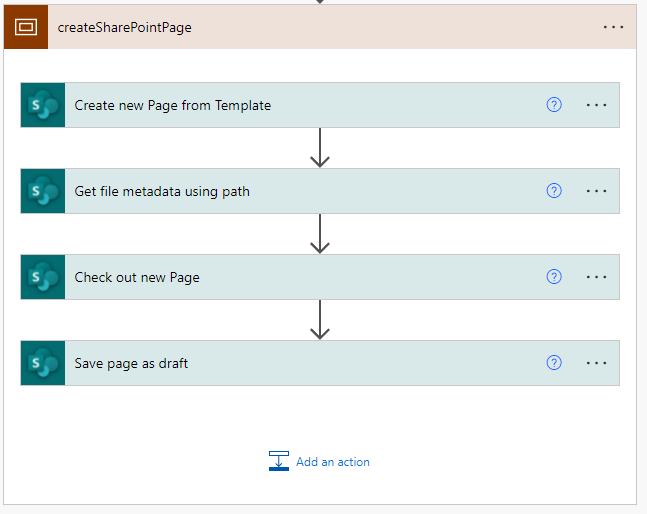
Create new Page from Template
In the first action of creating a new SharePoint page is to create the page or actually copy our template as a new name to our site. Use the “SharePoint – Send an HTTP request to SharePoint” action using the following parameters:
Site Address: <Your SharePoint Site Collection>
Method: POST
URI: /_api/web/GetFileByServerRelativeUrl('/sites/<Your SharePoint Site Collection>/SitePages/Templates/<your template name>.aspx')/copyto('/sites/<Your SharePoint Site Collection>/SitePages/@{triggerOutputs()?['body/{Name}']}.aspx')
Headers:
    Content-Type: Application/json;odata=verbose
    Accept: Application/json;odata=verbose
This will create a new Page with the content from your template (as a copy) but with the new name, in my case the name of the document that was uploaded (the trigger).
Get file metadata using path
Next we need to get this page item id, you can just use the “SharePoint – Get file metadata using path” action for this:
Site Address: <Your SharePoint Site Collection>
File Path: /SitePages/@{triggerOutputs()?['body/{Name}']}.aspx
This will give us the ItemID of our page, that we just created.
Check out new Page
To edit the content on this page, we need to check it out first. Again we use the “SharePoint – Send an HTTP request to SharePoint” action:
Site Address: <Your SharePoint Site Collection>
Method: POST
URI: _api/sitepages/pages(@{outputs('Get_file_metadata_using_path')?['body/ItemId']})/CheckOutPage
Headers:
    Content-Type: Application/json;odata=verbose
    Accept: Application/json;odata=verbose
Save page as draft
After the page is checked out, we can modify it by adding the structure, we saved from the test page when we tracked the request payload from the Dev Tool section “Network”. Again we use a “SharePoint – Send an HTTP request to SharePoint” action to modify our page and save it as a draft:
Site Address: <Your SharePoint Site Collection>
Method: POST
URI: _api/sitepages/pages(@{outputs('Get_file_metadata_using_path')?['body/ItemId']})/savepageasdraft
Body: <paste your saved request payload content in here>
Of course, right now the content is just the same as before, so we need to modify it by our Word content saved within the variable “varString” and the page name. we need to look for three different spots in our code:
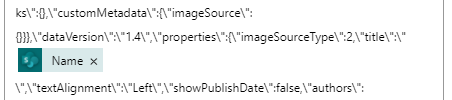
Title: Within the “customMetadata” section, look for the title with the name of your sample page, that you created while tracking the network. In my case it is called “test page”. Replace this by the name of your document (using a dynamic content):

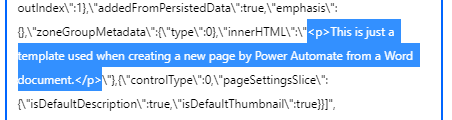
InnerHTML: The next thing we need to change is our content on this page. Look for “innerHTML:” within your code, you should see your text within a paragraph tag. Replace this with the variable (content of your word document):

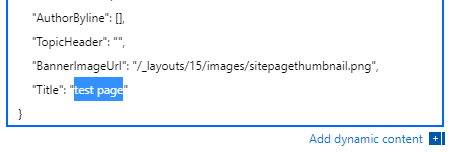
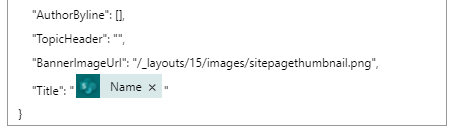
Title: Last change: at the bottom of your code, you will see some basic parameters. This is your header, that also shows the name, when you open the page. Change the “Title” to your document name:
Now you can already test your flow:


Publish Page
If you want to publish your page, you can also add another “SharePoint – Send an HTTP request to SharePoint” action using the following setup:
Site Address: <Your SharePoint Site Collection>
Method: POST
URI: _api/sitepages/pages(@{outputs('Get_file_metadata_using_path')?['body/ItemId']})/Publish
Body: <paste your saved request payload content in here>
Thing to improve:
You successfully created and published a SharePoint page with the content of a Word document, you uploaded to SharePoint. What improvements can we make to this? Here are a couple of thoughts:
- Bringing in more HTML formatting from the word document and not standard paragraph tags
- Using images, tables etc. from your word document as page headerimage or within an image webpart
Very helpful resources:
- Working with folders and files with REST
- Extract text from Word docx files with Power Automate (tachytelic.net)
- How to Parse XML in Power Automate using XPath — LazyAdmin
- Power Automate Fundamentals # 26: Usage of XML Fun… – Power Platform Community (microsoft.com)
- SharePoint Basic Operations Using REST API – Code SharePoint
Thanks for reading, I hope it will help you!
Marvin
Schreibe einen Kommentar